Artifactory Webhook Receiver
The Artifactory Webhook Receiver responds to pushed events originating from
Artifactory repositories by refreshing all Warehouse resources subscribed to
those repositories.
This webhook receiver does not respond to events where domain is artifact
and event_type is deployed.
"Refreshing" a Warehouse resource means enqueuing it for immediate
reconciliation by the Kargo controller, which will execute the discovery of
new artifacts from all repositories to which that Warehouse subscribes.
Self-Hosted Artifactory
If you are not using a self-hosted Artifactory instance, skip to the configuring the receiver section.
In order for a webhook initiated Warehouse refresh to successfully occur,
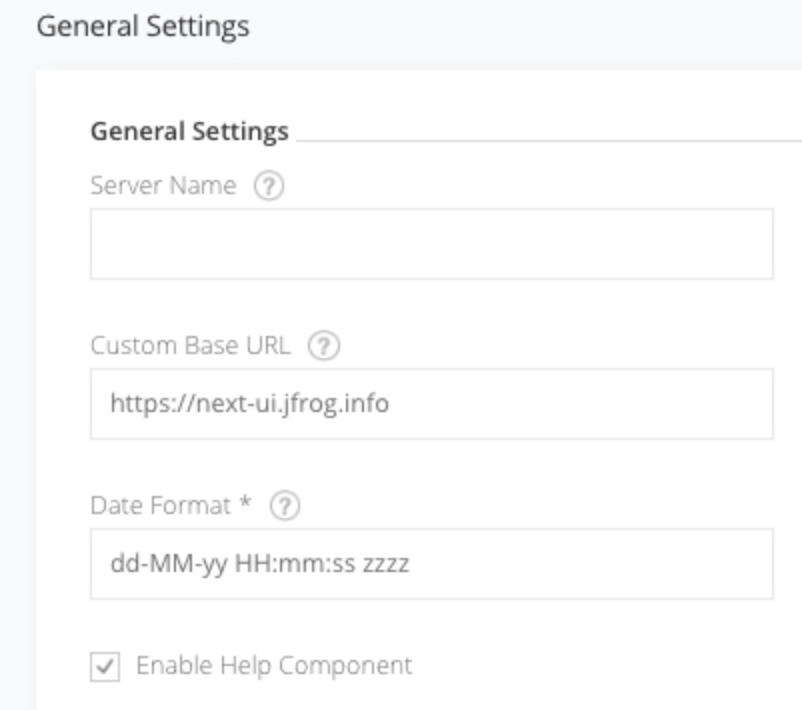
it is required that you set a Custom Base URL for your instance.
When this setting hasn't been configured, critical information will be missing
from the webhook payloads.
-
Navigate to
https://<base-url>/ui/admin/configuration/general, where<base-url>has been replaced with the base URL of your self-hosted Artifactory instance. -
Set the Custom Base URL field to the base URL of your self-hosted Artifactory instance.
-
At the bottom of the form, click Save.
For additional information on configuring your Custom Base URL refer directly to the Artifactory Docs.
Configuring the Receiver
An Artifactory webhook receiver must reference a Kubernetes Secret resource
with a secret-token key in its data map. This
shared secret will be used by
Artifactory to sign requests and by the receiver to verify those signatures.
The following commands are suggested for generating and base64-encoding a complex secret:
secret_token=$(openssl rand -base64 48 | tr -d '=+/' | head -c 32)
echo "Secret token: $secret_token"
echo "Encoded secret token: $(echo -n $secret_token | base64)"
apiVersion: v1
kind: Secret
metadata:
  name: artifactory-wh-secret
  namespace: kargo-demo
  labels:
    kargo.akuity.io/cred-type: generic
data:
  secret-token: <base64-encoded secret token>
---
apiVersion: kargo.akuity.io/v1alpha1
kind: ProjectConfig
metadata:
  name: kargo-demo
  namespace: kargo-demo
spec:
  webhookReceivers:
  - name: artifactory-wh-receiver
    artifactory:
      secretRef:
        name: artifactory-wh-secret
Virtual Repositories
When Warehouses intended to be refreshed by an Artifactory webhook receiver subscribe to Artifactory virtual repositories there will be discrepancies between the URLs the receiver will infer for the local repositories from which push events have originated and the URLs actually used by those Warehouses' subscriptions.
To compensate for this, a value can be provided for the Artifactory webhook
receiver configuration's virtualRepoName field. When specified, its value
supersedes the local repository name found in the webhook's payload, which
allows the receiver to infer the correct virtual repository URL for which all
subscribed Warehouses should be refreshed.
In practice, when using virtual repositories, a separate Artifactory webhook
receiver should be configured for each, but one such receiver can handle
events originating from any number of local repositories that are aggregated by
that virtual repository. For example, if a virtual repository proj-virtual
aggregates container images from all of the proj Artifactory project's local
image repositories, with a single webhook configured to post to the following
receiver, an image pushed to
example.frog.io/proj-<local-repo-name>/<path>/image, will correctly cause that
receiver to refresh all Warehouses subscribed to
example.frog.io/proj-virtual/<path>/image.
apiVersion: v1
kind: Secret
metadata:
  name: artifactory-wh-secret
  namespace: kargo-demo
  labels:
    kargo.akuity.io/cred-type: generic
data:
  secret-token: <base64-encoded secret token>
---
apiVersion: kargo.akuity.io/v1alpha1
kind: ProjectConfig
metadata:
  name: kargo-demo
  namespace: kargo-demo
spec:
  webhookReceivers:
  - name: proj-virtual-wh-receiver
    artifactory:
      secretRef:
        name: artifactory-wh-secret
      virtualRepoName: proj-virtual
Retrieving the Receiver's URL
Kargo will generate a hard-to-guess URL from the receiver's configuration. This URL can be obtained using a command such as the following:
kubectl get projectconfigs kargo-demo \
  -n kargo-demo \
  -o=jsonpath='{.status.webhookReceivers}'
Registering with Artifactory
-
Navigate to
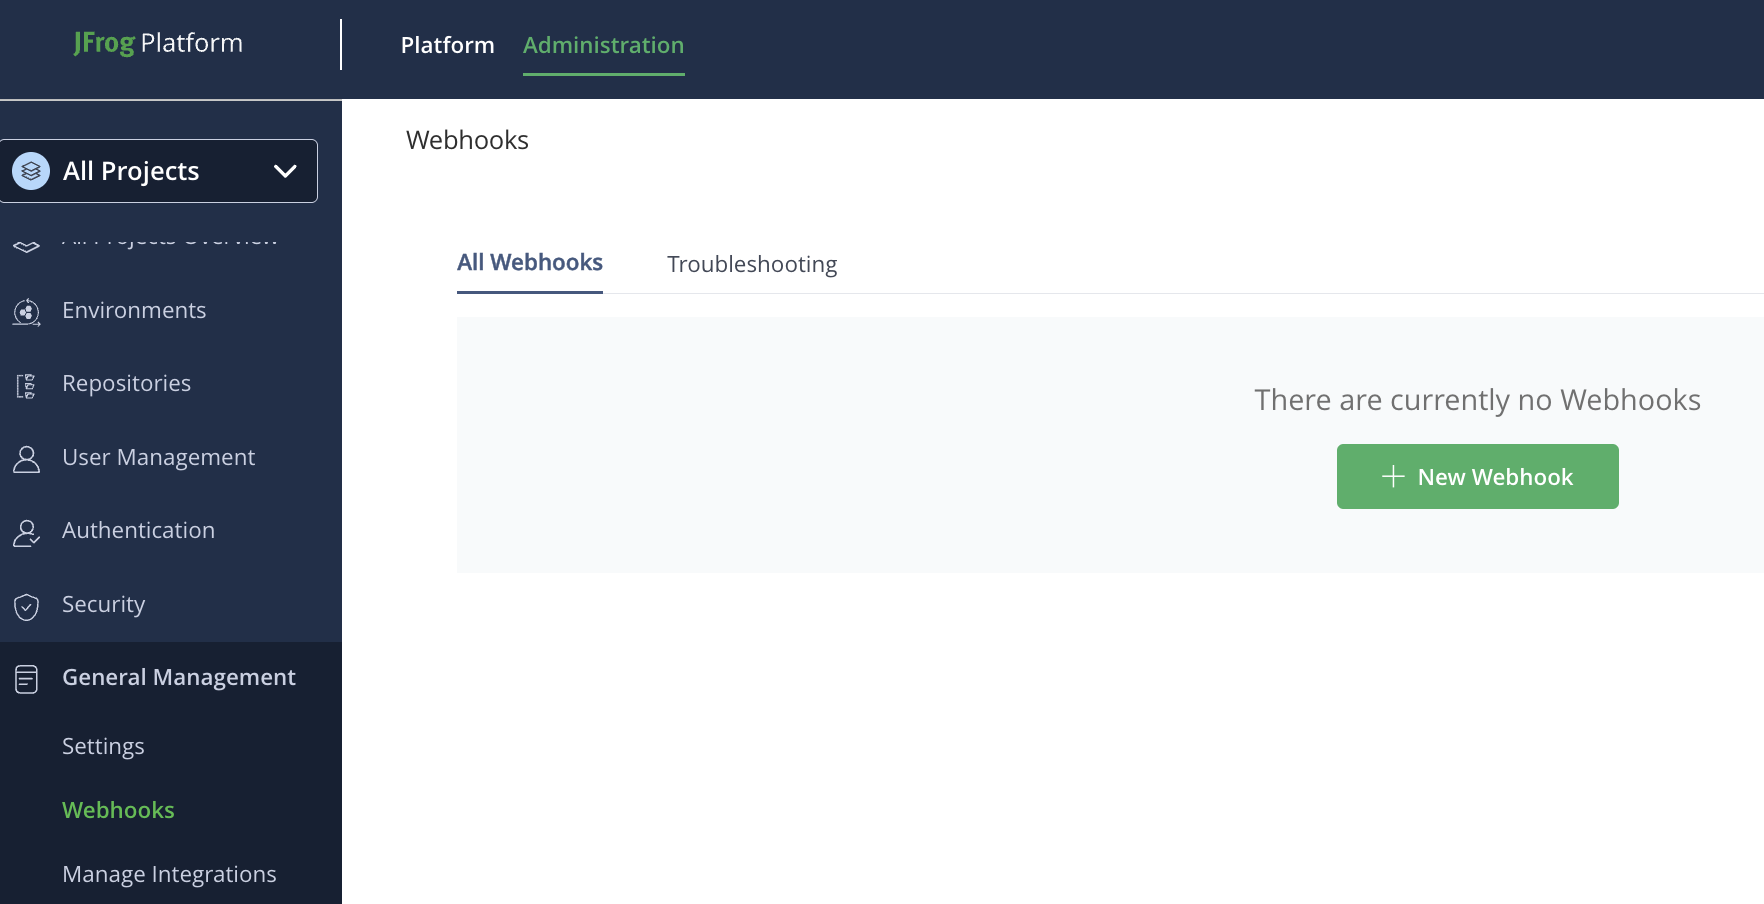
https://<jfrog-instance>.jfrog.io/ui/admin/configuration/webhooks, where<jfrog-instance>has been replaced with an Artifactory instance for which you are an administrator. -
Click New Webhook.
-
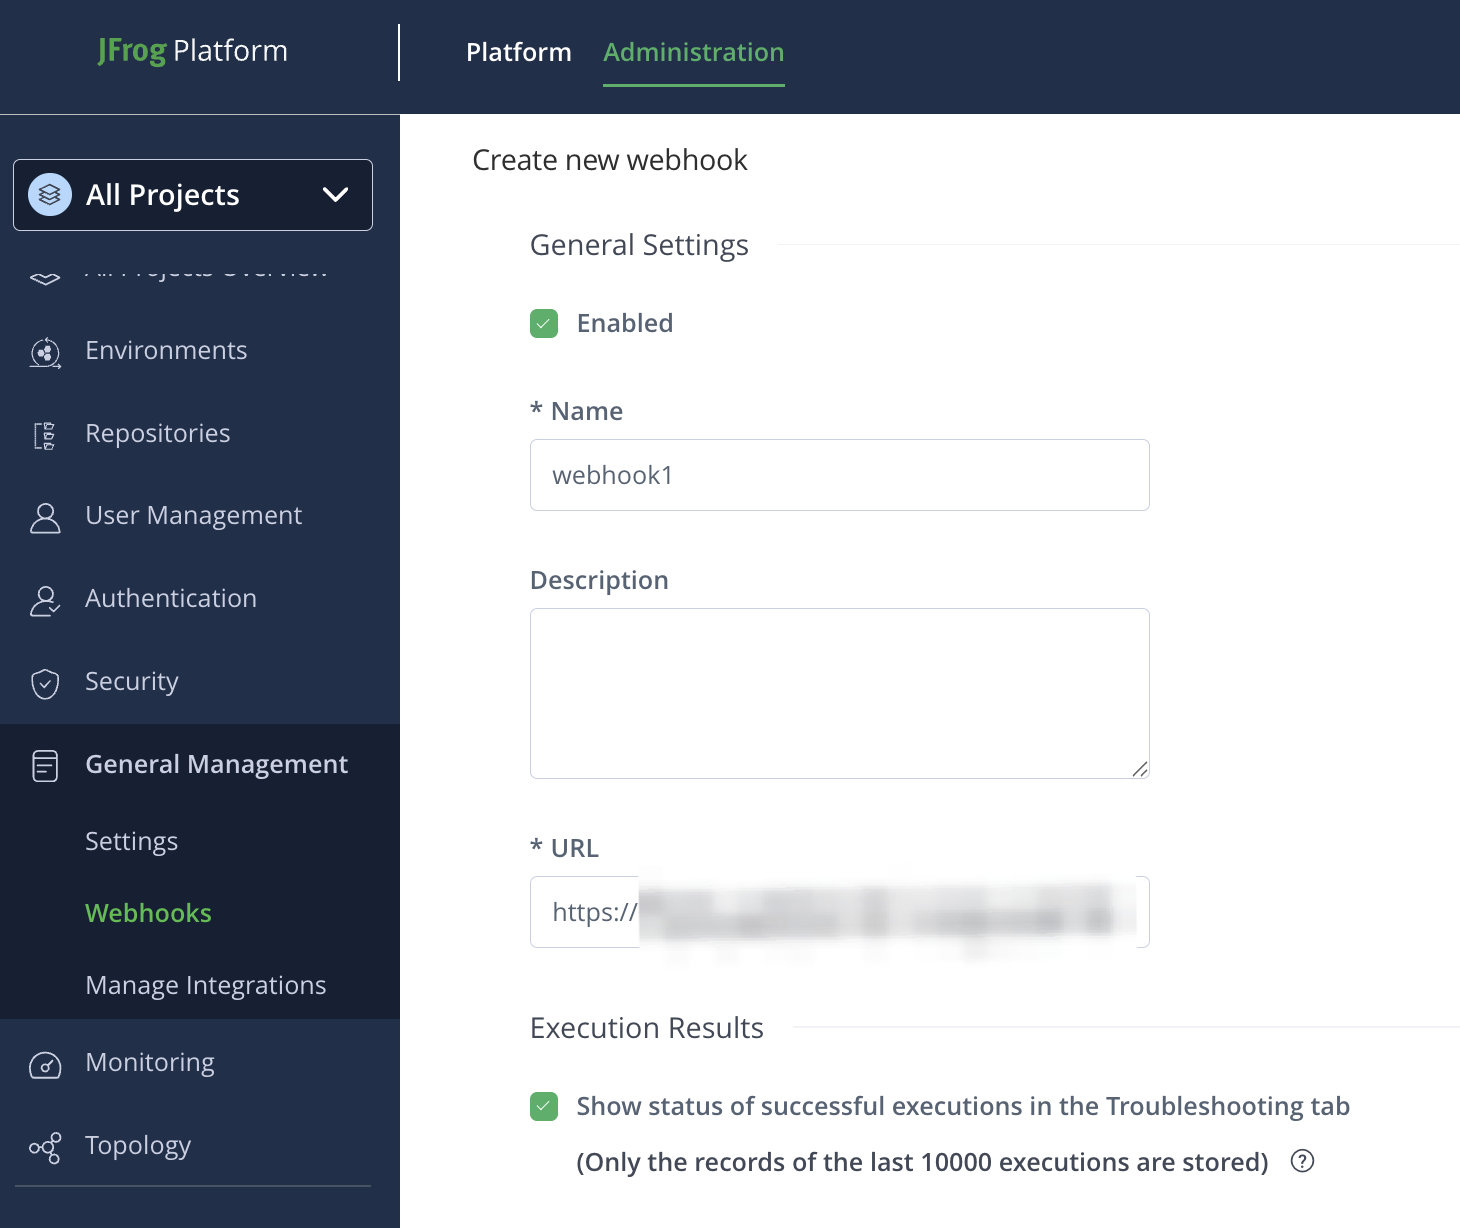
Complete the Create new webhook form:
-
Enter a descriptive name in the Name field.
-
Complete the URL field using the URL for the webhook receiver.
-
Under Execution Results check Show status of successful executions in the Troubleshooting tab.
infoAlthough Artifactory supports sending test events to the URL, such events are not displayed in the troubleshooting tab; only actual events are.
-
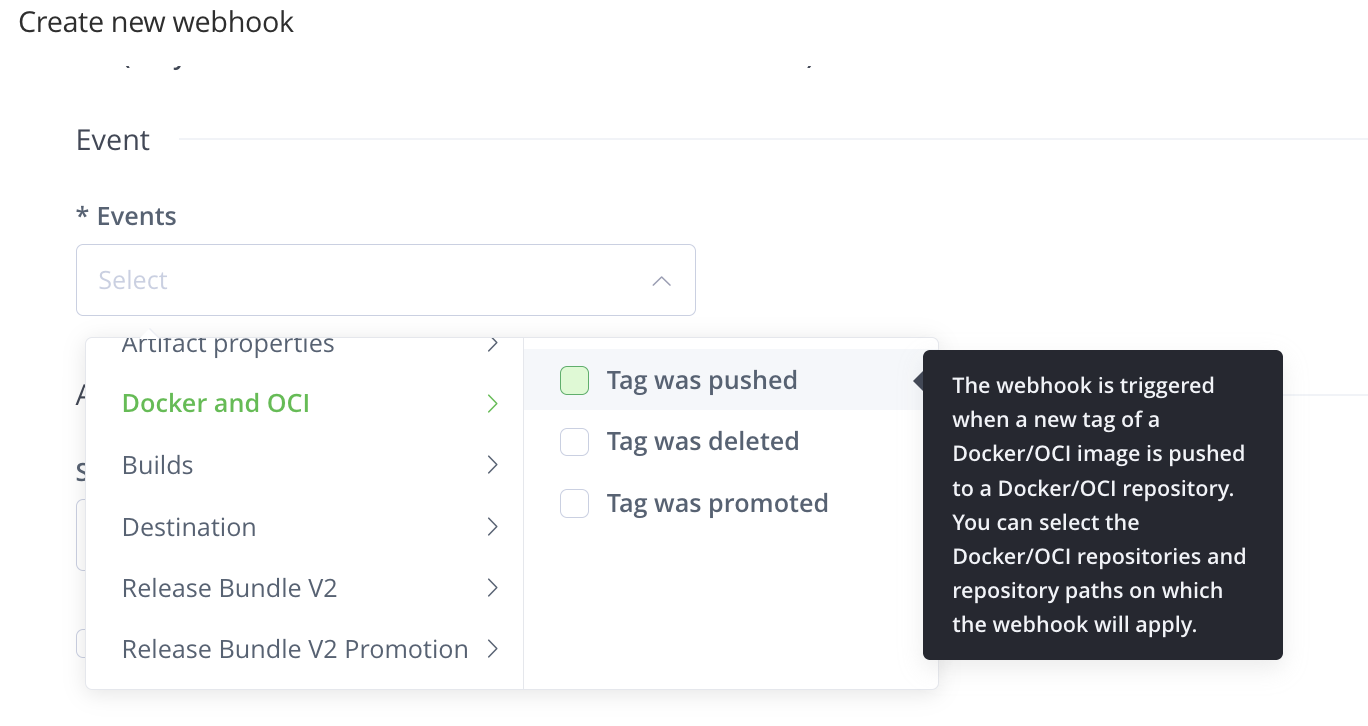
In the Events drop-down, select Docker and OCI ⃗ Tag was pushed.
 info
infoArtifactory supports many different types of registries and repositories. This webhook responds only to events originating from repositories in OCI registries. No other type of repository, including legacy (HTTP/S) Helm chart repositories, is supported.
-
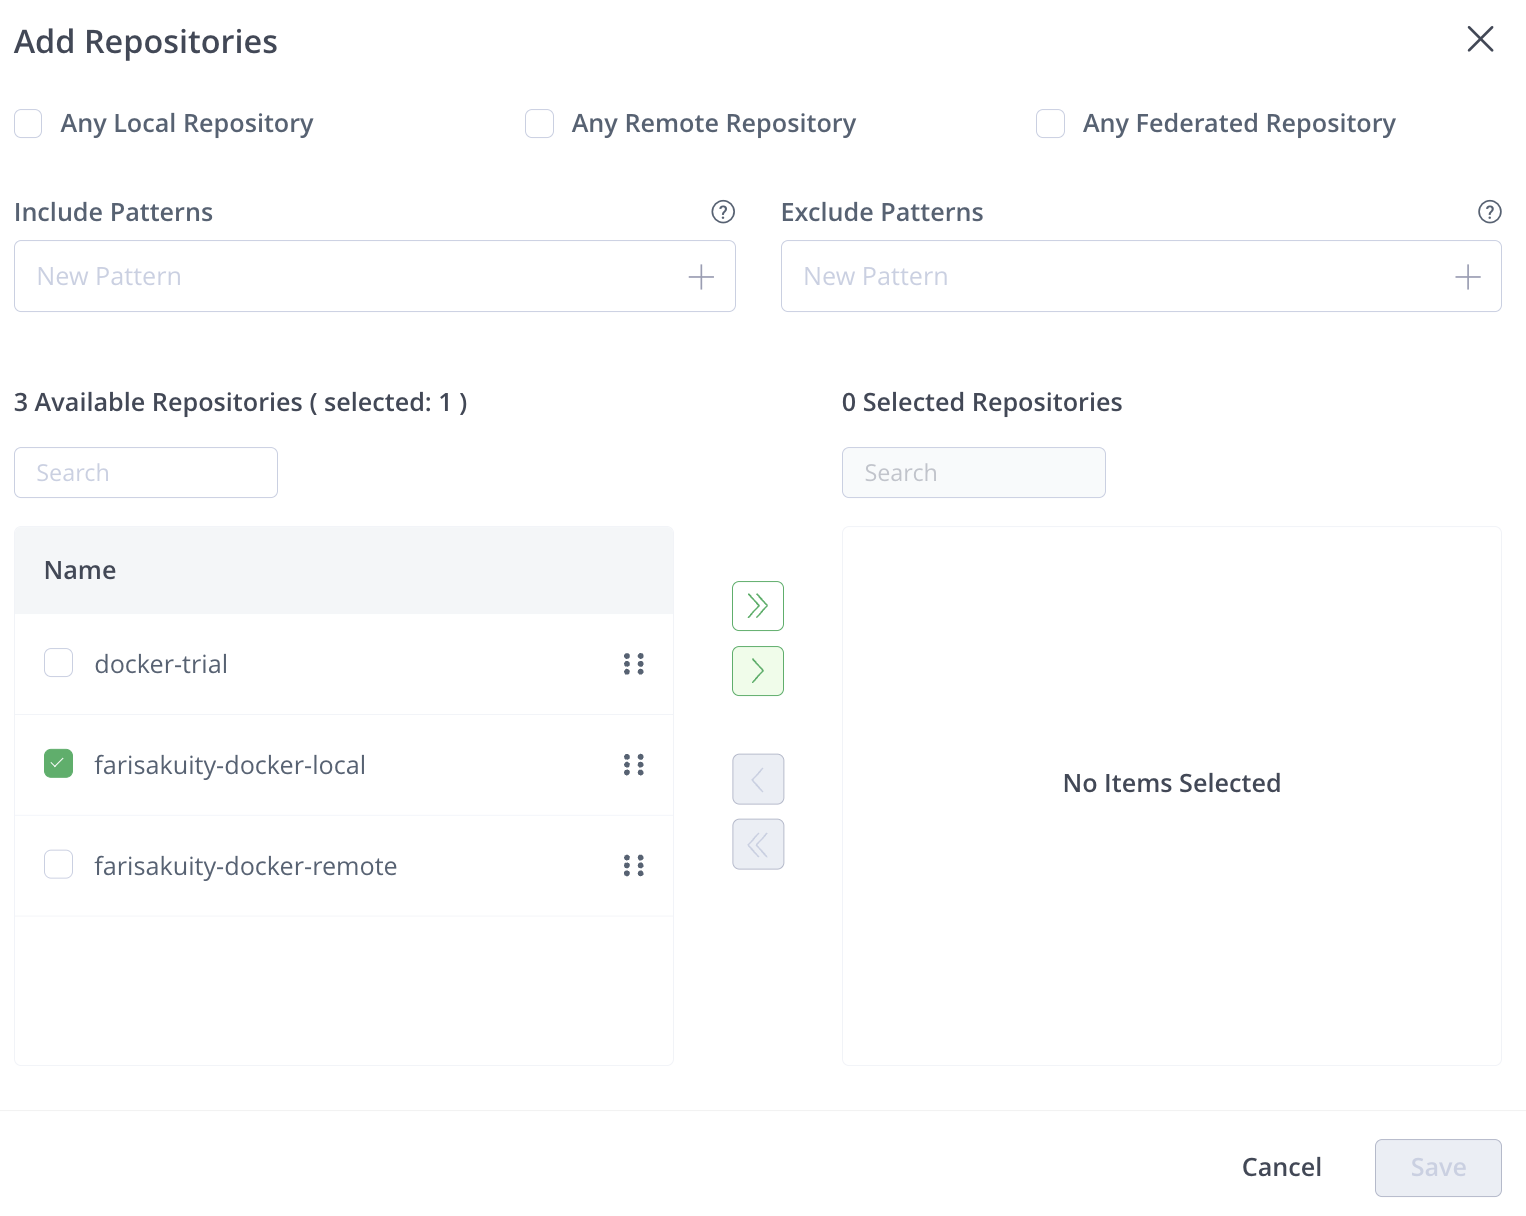
Complete the dialog that appears:
-
Select repositories from which you would like to receive events from those listed on the left.
-
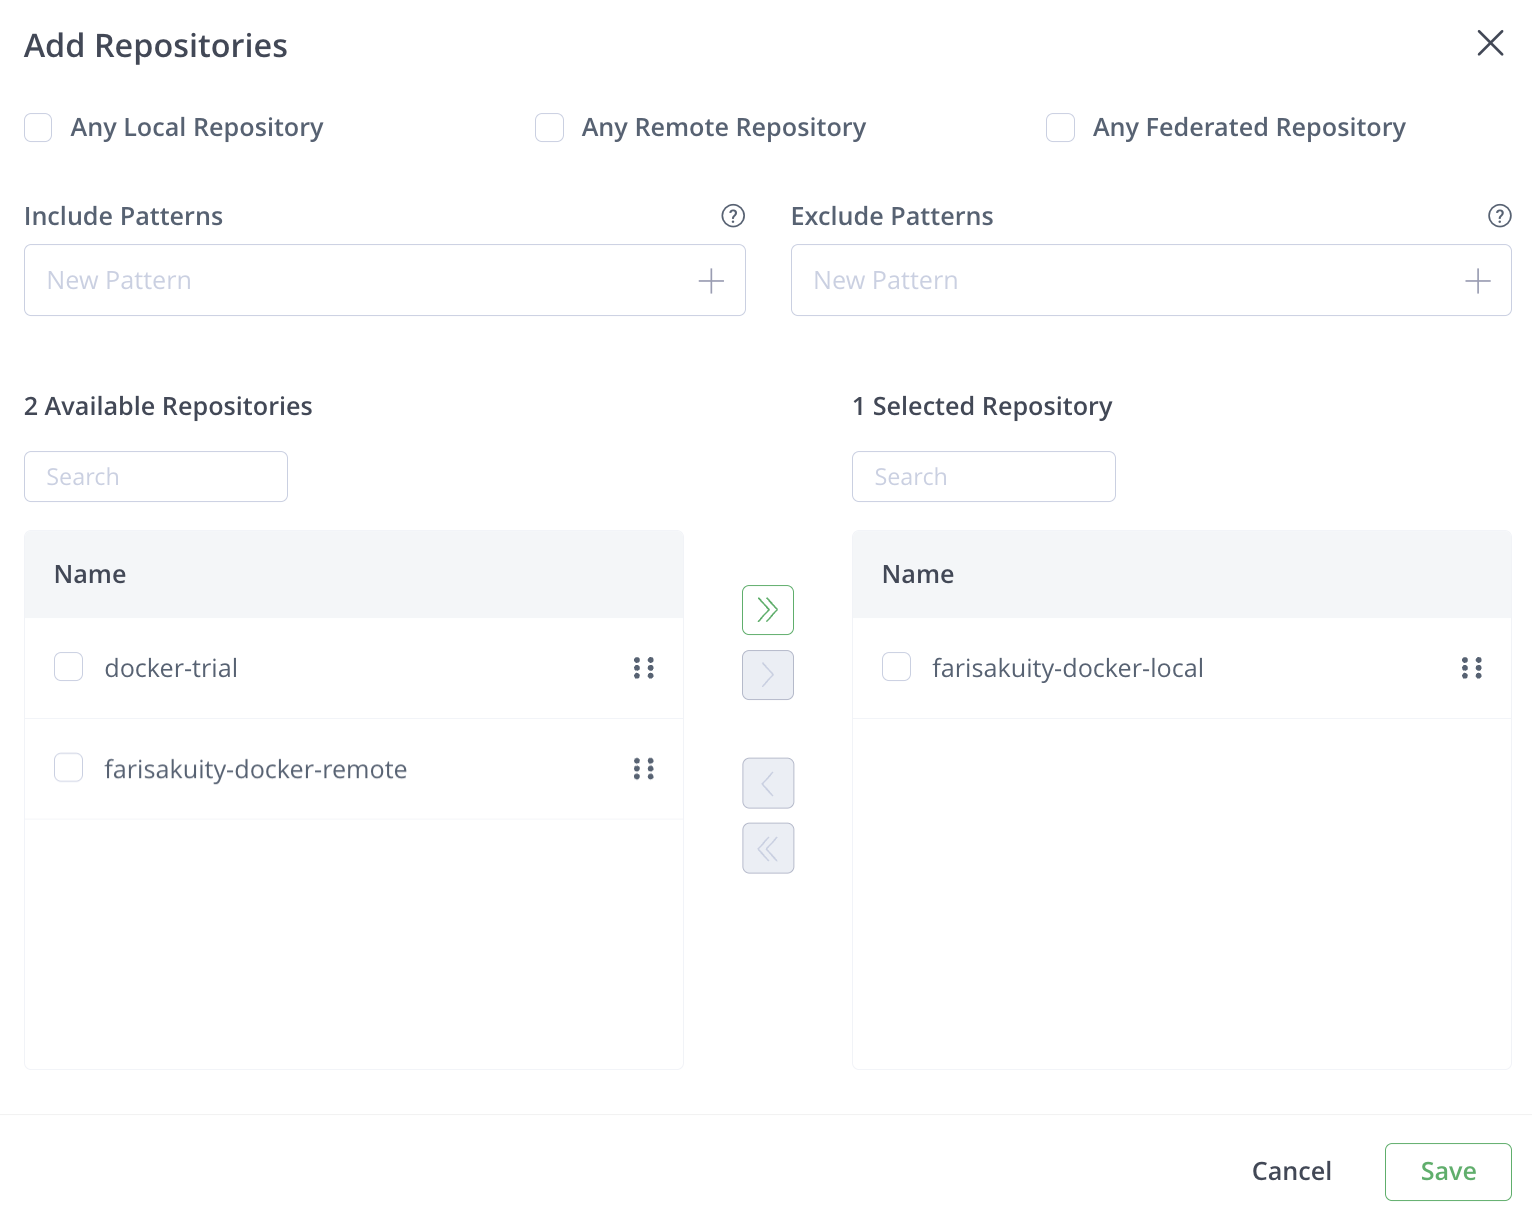
Click > to move your selections to the right.
Upon doing so, the Save button will be enabled.
-
Click Save.
-
-
Under Authentication, complete the Secret token field using the (unencoded) value of the
secret-tokenkey in theSecretresource referenced by the webhook receiver's configuration.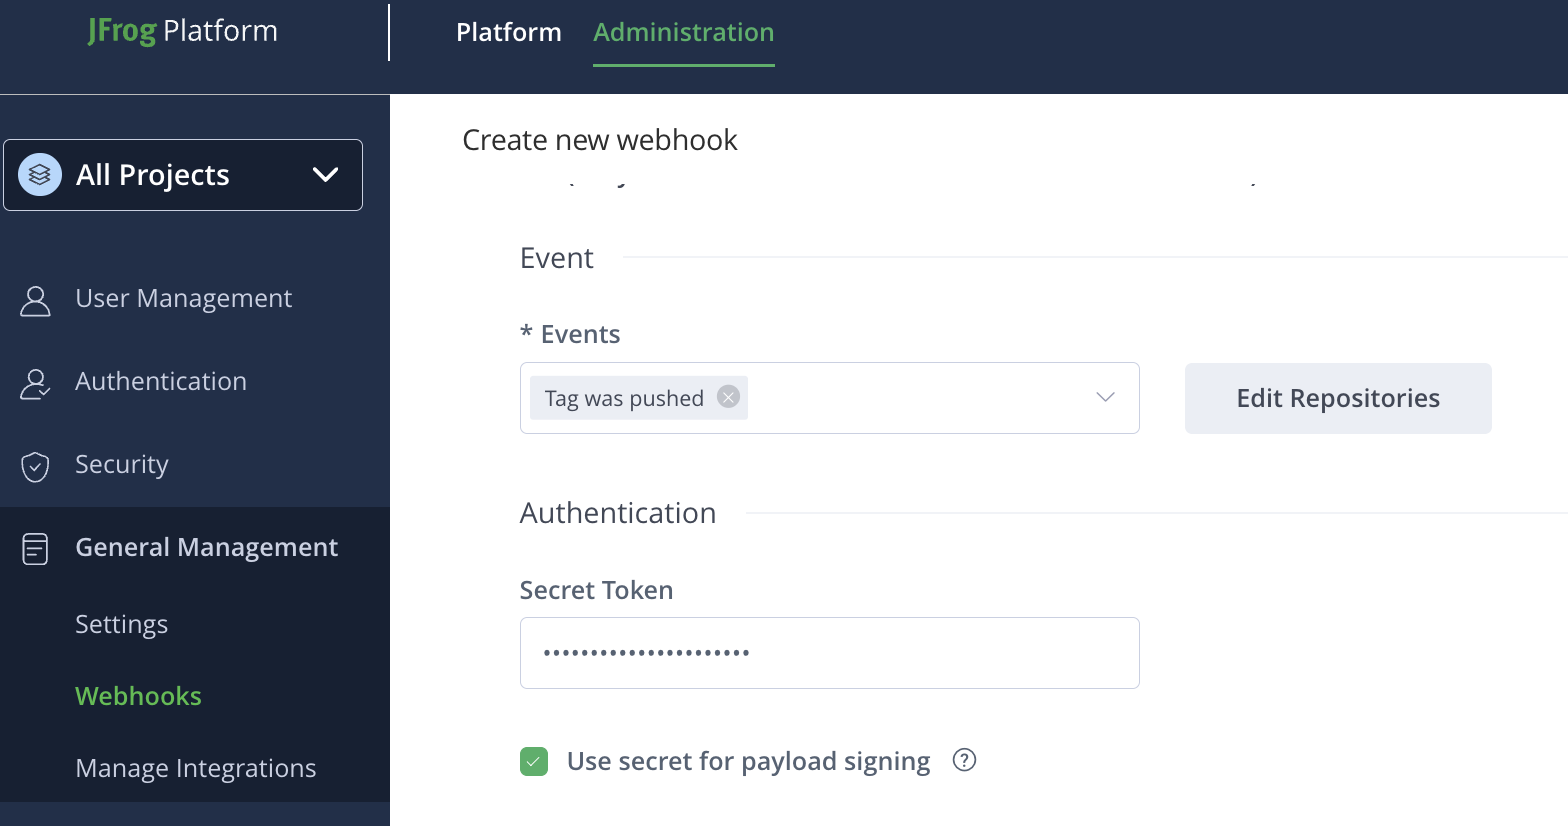
-
Select Use secret for payload signing.
cautionThe webhook receiver won't accept unsigned requests.
-
Click Save.
You will be redirected to the Webhooks page where the newly created webhook will appear.

-